Storm & Insurance
Storm Damage Documentation: A Tampa Homeowner's Photo Guide
Insurance settlements are won or lost on documentation. The exact photos to take, what to write down, and how to capture damage that adjusters take seriously.
By RoofX · January 8, 2026 · 7 min read
Insurance settlements are won or lost on documentation. The adjuster doesn't believe what you say. They believe what you show. Documentation that's timestamped, geotagged, high-resolution, and captured from both close-up and wide-angle is documentation that survives skeptical review.
This guide is what we wish every Tampa homeowner did in the 24 hours after a storm. Most don't. Most of the storm-damage claims we see arrive at our doorstep with photos that aren't enough. Then we re-document the damage ourselves, often weeks after the event, and rebuild the case from there.
You can do better. Here's the playbook.
The principle
Insurance is evidence-based. The adjuster will compare what they see to what's in your policy. Anything that isn't documented didn't happen, as far as the claim file is concerned.
Photos that work in claims have four properties:
- Timestamped. Date and time embedded in the file metadata. Most modern phones do this automatically.
- Geotagged. GPS coordinates embedded in the metadata. Verify your camera app has location services enabled.
- High-resolution. Most adjusters now accept phone photos, but they need to be in focus and well-lit. Do not use zoom. Get physically closer.
- Wide + close-up paired. Each damage area should have a wide-angle photo for context (so the adjuster knows where on the roof the damage is) and a close-up that shows the actual damage.
Verify all four properties before you call your insurer. Most "the adjuster denied the claim" stories trace back to documentation that fell short on one of these.
Safety first
Do not climb on a wet roof. Do not climb on a roof in active storm conditions. Do not climb on a roof if you're not comfortable with the height.
Most of what you need to document can be captured from the ground, the second-story window, or by a drone if you have one. A few documentation items require on-roof access. Those can wait. We'll do them at the free inspection.
What to photograph
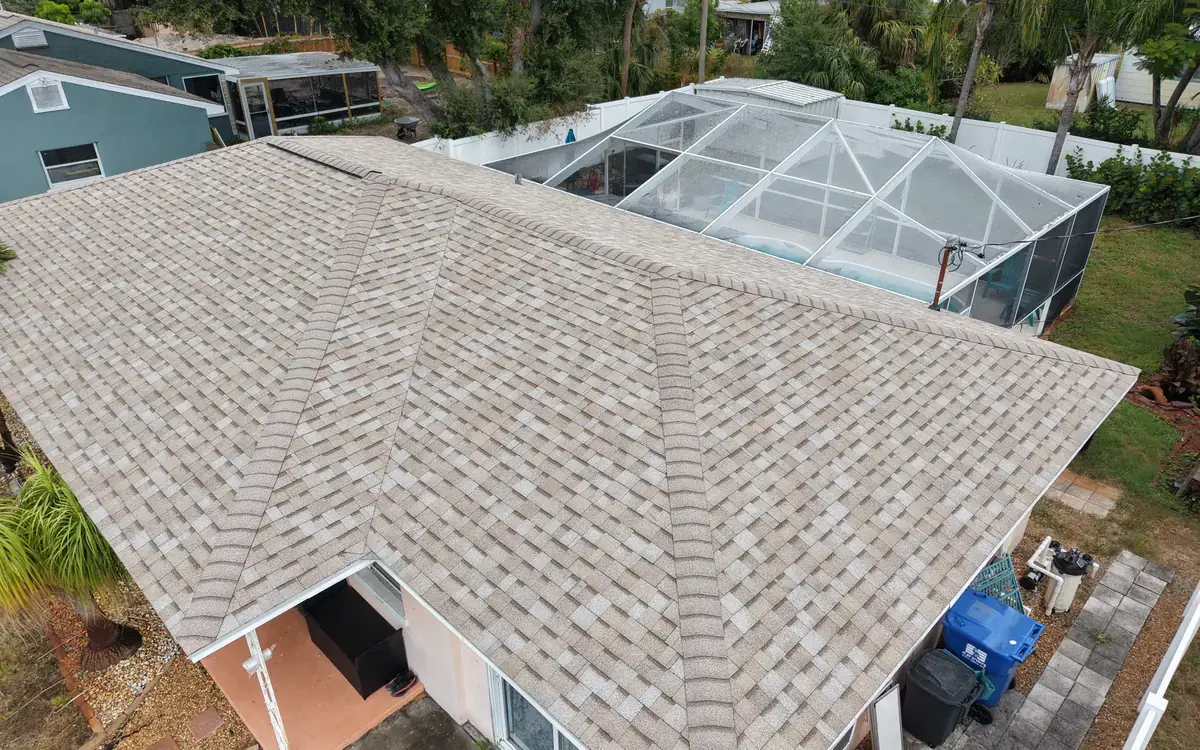
Wide shots of every roof slope
Stand back. Take a wide-angle photo of each plane of the roof. A typical Tampa home has 4–8 roof planes; you want a wide shot of every one. These shots establish context. They tell the adjuster what the roof looks like.
If your phone has a wide-angle (0.5x) lens, use it. The wider the shot, the better the context.
Close-up of every damage indication
For each piece of damage you can see. Lifted shingles, missing shingles, hail bruising, debris impact, exposed flashing. Take a close-up. Get close enough that the damage takes up most of the frame. Take 2–3 photos of each damage area from slightly different angles.
If you can't safely get close to the damage, use your phone's zoom to compose the shot, but understand you'll lose resolution. Better to use a drone if you have one, or wait for our inspection.
Soffit, fascia, and gutters
These often show storm damage even when the main roof field looks fine. Photograph the entire perimeter of the home. Every soffit run, every fascia board, every gutter section. Look for displaced sections, dents, separations.
Yard debris
This is the photo most homeowners forget. Anything in your yard that came off your roof. Shingles, granules, vent caps, ridge cap fragments. Is evidence the storm caused damage. Photograph it where it landed. Do not clean up before documenting.
If hail came down, photograph hail in the grass while it's still there (hail melts quickly in Tampa). A coin or ruler in the frame for size reference helps.
Interior water damage
If any water came into the home, photograph the ceiling stains, wall discoloration, attic moisture, or visible drips while they're fresh. Stains darken over hours and lighten over days as they dry. Capture them at peak.
Even minor signs matter. Insurance often pays for interior damage along with the roof.
What to write down
A short written record helps when months later you're trying to reconstruct the timeline.
- Date and approximate time of the storm event
- Wind speed if known (we look up NWS data later, but your impression at the time helps)
- What you noticed first (was it a sound? a leak? a missing shingle visible from the driveway?)
- Any sounds during the event. Small impacts often mean hail; larger thuds often mean debris
- Anything you've already done. Tarped, called the insurer, moved furniture away from the leak
Keep this in a single document or note. Add to it as more details emerge over the next 48 hours.
What NOT to do
Don't repair anything before documenting. Even minor cosmetic repairs can complicate the claim. Document first. We'll handle emergency tarp service to prevent further damage; that's repair-adjacent and accepted in claim files.
Don't dispose of damaged materials. Shingle pieces in the yard, broken vent caps, anything that came off the roof. Keep them until the adjuster's inspection. They're evidence.
Don't sign anything from out-of-state crews. Storm-chasers door-knock after Tampa storms. They'll offer to "handle" your claim in exchange for assignment of insurance benefits. Don't sign. Florida law gives you the right to choose any licensed contractor.
Don't wait. Florida policies have time limits on claim filing. Document immediately, call your insurer within a few days, and schedule your inspection promptly. Damage worsens with time, and so does the claim's credibility.
The full kit
For homeowners who want a printable, structured walkthrough. Including photo templates, sample claim language, adjuster meeting prep, and red-flag checklists. We publish a free 15-page documentation kit. It's the same checklist our crews use when we document damage on a storm-claim consultation.
You can download the kit here. It's email-gated. We'll follow up about a free claim consultation if you're interested. No obligation either way.
When to call us
If you're dealing with active leaks, fallen branches on the roof, or visible structural damage, call us right now: (813) 590-1124. Emergency tarp service is available 24/7. Tarp service is itself often covered by insurance as part of "emergency mitigation". We document for the claim from minute one.
If the damage is documented and you've called your insurer, the next step is the free claim consultation. We come to your property within 48 hours, walk the roof together, and make sure the documentation supports the settlement your roof actually needs.
Related reading: how to file the claim itself, the storm damage service overview, and the insurance claim help hub where we keep the deeper guides.
Documentation is the part of the claim where most homeowners leave money on the table. The 30 minutes you spend with your phone today is often worth thousands at settlement.